Spicy Beef & Mushroom Enchiladas

This past Sunday following the Broadway Community Market I caught up on some much overdue to-dos. As is normal for this time of year for most people, life is super busy. Keeping up with the farm and working I had neglected cooking other than breakfast with our pasture raised eggs and the occasional green smoothie so I was really lacking on lunches and dinners and resorting to getting something quick while out.

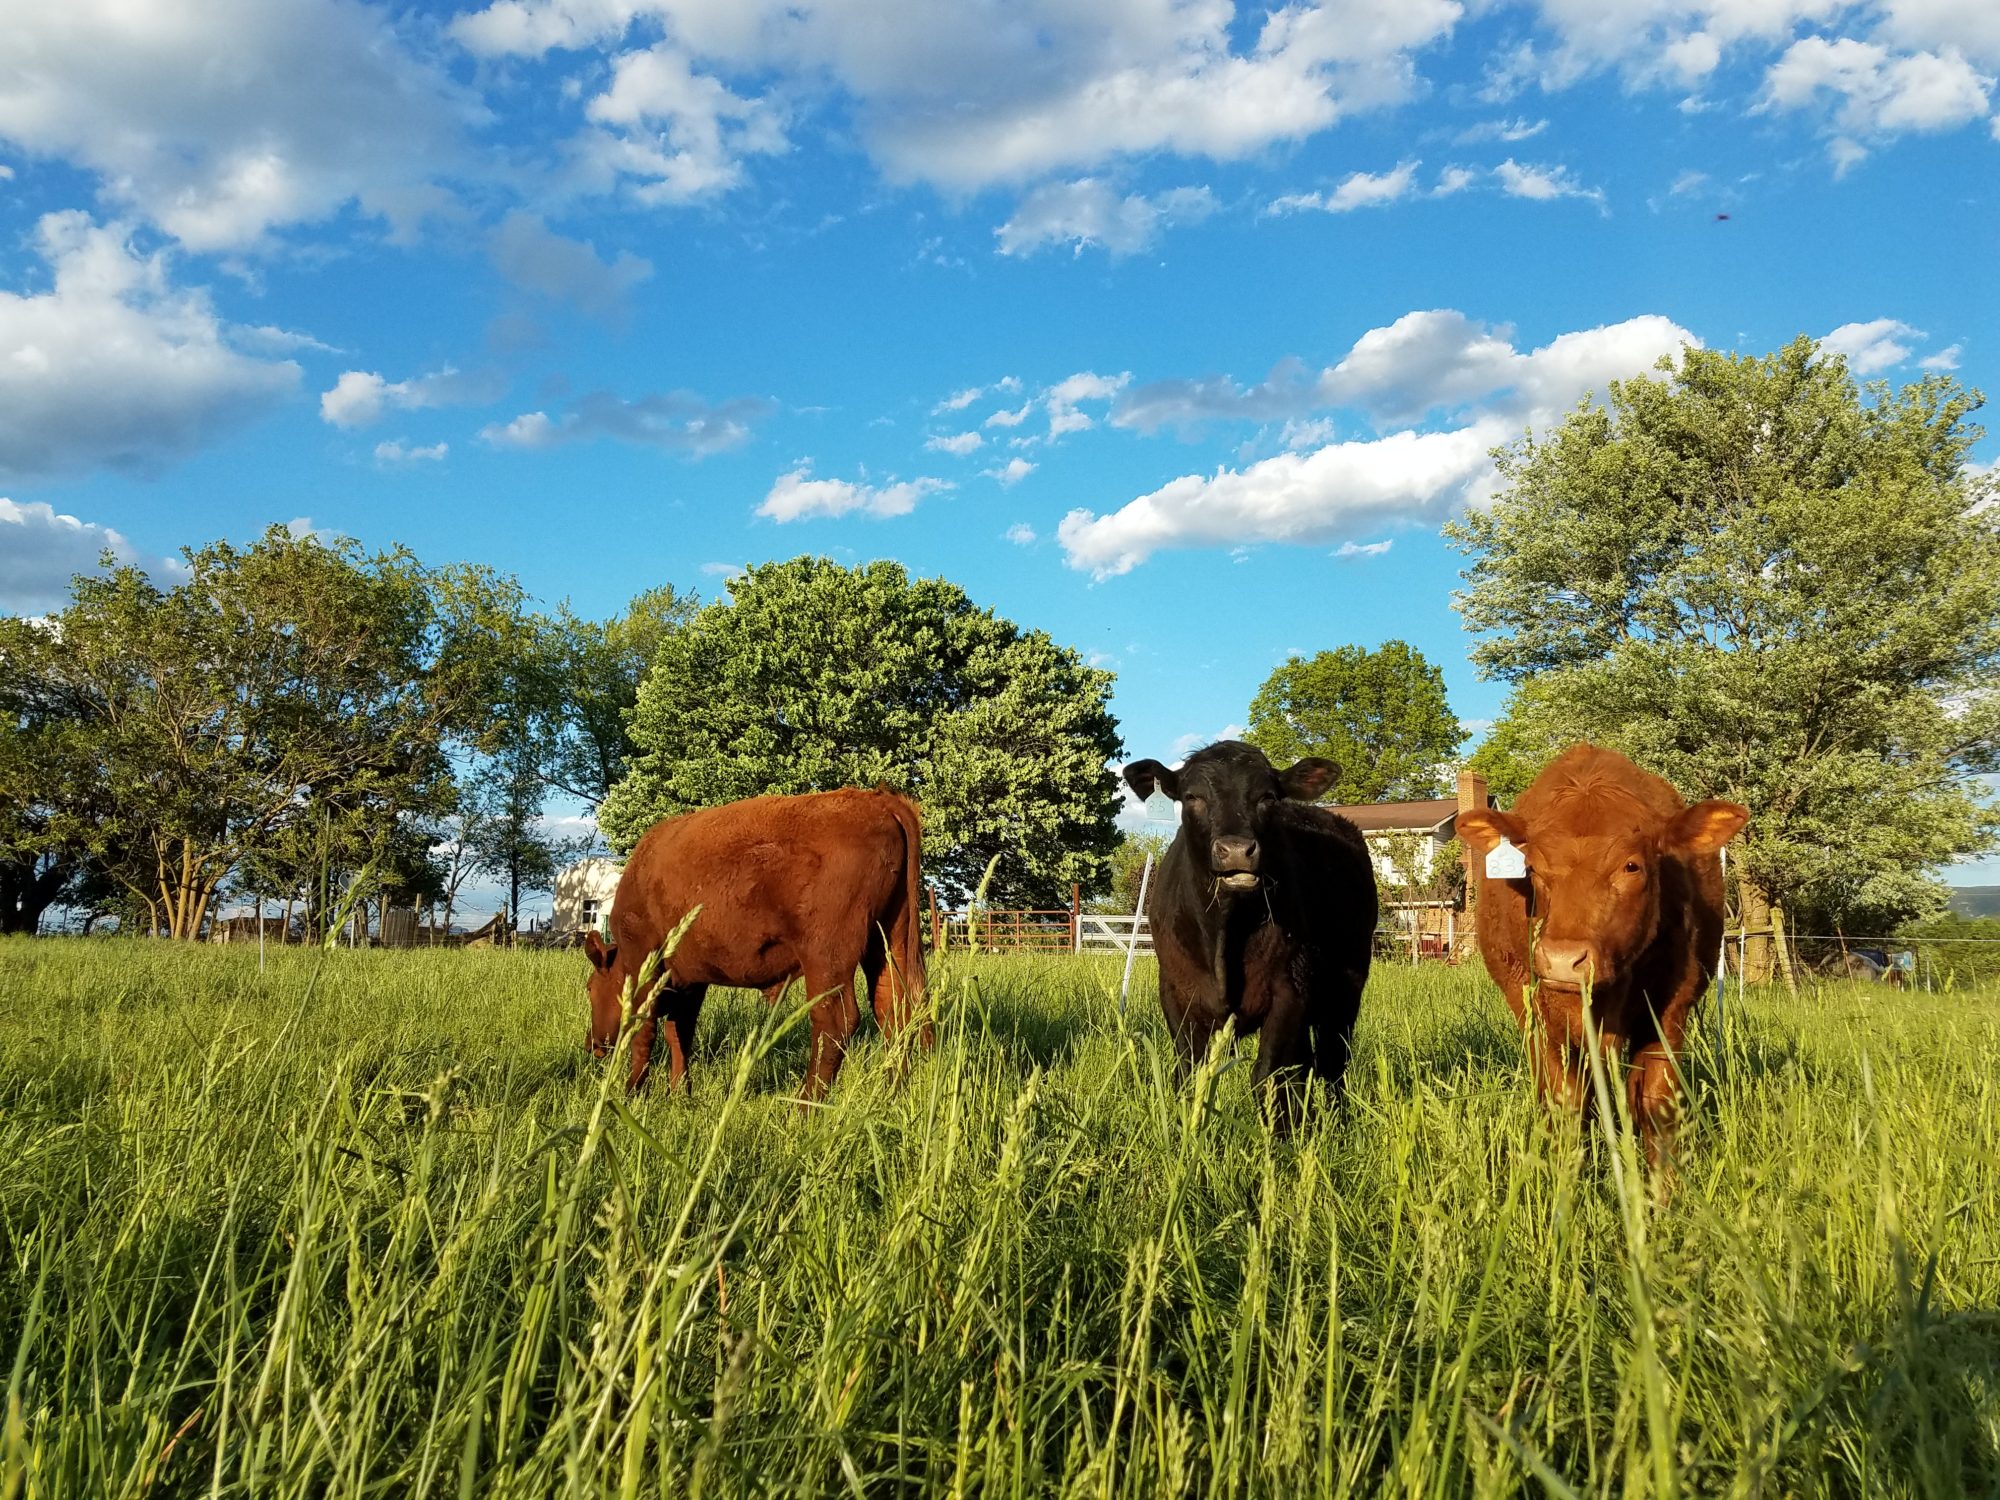
I thawed out some of our ground grassfed and finished beef and during one of my recent monthly auto ship boxes from Thrive Market had added a jar or two of enchilada sauce so I thought this was the perfect time to try it out!

As usual I searched for a recipe, but ended up using the basic outline of the recipe (temp & time mostly as well as ingredient volume) while using what I had in the fridge to make up the rest of the recipe as I went along.

During a trip to Costco a couple months ago I bought a large container of some dehydrated mushrooms from The Wild Mushroom Co, so I decided to try those as well as some home grown dehydrated cayenne peppers from the garden from several years ago (if I had fresh or dehydrated jalapeƱo peppers I probably would have opted to use those instead but I used what I had on hand at the time). It’s definitely a spicy dish but you can adjust to your liking!

Spicy Beef & Mushroom Enchiladas

Print Recipe
An easy enchilada recipe you can make your own
Course Main Course
Cuisine Mexican
Keyword Freezer Friendly, Leftovers, Meal Prep, Quick
Prep Time 15 minutes
Cook Time 30 minutes
Total Time 45 minutes
Servings 10 people

Equipment

  • 9 x 13-inch baking dish
  • Oven
  • Skillet
  • Bowl For soaking mushrooms (optional)
  • Kettle/Pot For boiling water to prep mushrooms (optional)

Ingredients

  • 1 tbsp olive oil
  • 1 md/lg white onion diced
  • 4 cloves garlic minced
  • 1 15 oz jar Red Enchilada Sauce or homemade
  • 1 pound grassfed ground beef
  • 4-6 cups chopped mushrooms fresh or rehydrated
  • Ā½ cup diced cayenne or jalapenos fresh or rehydrated
  • 1 tsp ground cumin
  • 8-10 md/lg flour tortillas or grain/gluten free
  • 3 cups cheese Mexican blend or other (I used Havarti sliced cheese that I cut into shreds)
  • fine sea salt & freshly ground pepper

Instructions

  • Prep mushrooms/cayenne if using dehydrated and make your enchilada sauce if choosing to make your own. This looks like a great recipe from Gimme Some Oven.
  • Heat your skillet over medium-high heat and add oil. SautĆ© onion and garlic until fragrant, about 3-4 mins stirring occasionally. Add ground beef and cumin and sautĆ© until browned, breaking apart while cooking about 5-7 mins. You can also add in your jalapeƱos here if using and sautĆ© along with the beef.
  • Combine mushroom/cayenne mixture to beef filling and sautĆ© a min or two longer. Season with salt and pepper to taste.
  • Preheat oven to 350ā„‰. While oven is preheating, begin preparing the baking dish by spreading about Ā½ cup of the enchilada sauce across the bottom. Begin assembling the enchiladas by adding about 2 tbsp sauce in the middle of the tortilla, followed by the filling, and about Ā¼-ā…“ cup cheese. Roll up the tortilla and place in the dish starting from one side, and repeat the process until the dish is full. Pour remaining sauce over the top of the enchiladas and sprinkle with remaining cheese.
  • Bake enchiladas uncovered for 20-30 mins, until cooked through and cheese is melted and tortillas have a slight crisp on the outside.
  • Serve and enjoy with toppings of choice!

Notes

This recipe should also freeze really well (if you make extras, if not I dare you to not eat it all within a day or two).Ā  Just prep everything as you usually would and freeze instead of cooking them.Ā  The instructions for cooking are basically the same as they would be while making them, 350 F for about 30 mins until warm all the way through.

Homemade Mayo: Real, Unprocessed and Made with Avocado Oil

I’m back with another great recipe that’s a staple for me! Ever since I started my journey of healthy, real food eating and cutting out all the junk, I really started to examine what was in all the processed items at the grocery store and trying to make my own (healthier) versions.

Enter Mayo. I love mayo, probably a little too much. But when I started looking for healthier recipes years ago, it was really hard to find a homemade mayo that tasted like what I was used to. While I’ll admit my tastes have changed over the years, growing up eating the classic store bought variety I was so used to made it a little difficult to convert. especially when my first trial and error was using the very healthy (but VERY distinct) extra virgin olive oil. The grocery store varieties usually used highly processed canola oil, and for good reason. It’s cheaply processed, and also has a mild flavor, or atleast it’s been so processed and chemically altered to make it that way.

I was learning so much about healthy fats and reading my copy of Nourishing Traditions. I was working in the industrial agriculture industry but learning everything I could about sustainable agriculture, permaculture, and pasture based principles and all things REAL & unprocessed. It was also about this time when I was finding out about all the great real food bloggers out there and went through many different recipes that they had posted on their sites. I had started using a lot of coconut oil in recipes along with olive oil, lard, and tallow. I tried recipes that used many of those healthy oils but then discovered Avocado Oil.

Avocado Oil became the solution to my Mayo “problem”. I finally found an oil that was mild enough that it didn’t overpower the recipe (ie-tasted good) AND was actually healthy. The best recipe I found came from one of my favorite real food bloggers, Nourished Kitchen. It was also super simple, and easily reproduced or even updated if I so desired (sometimes I like to add a little Dijon mustard or apple cider vinegar). It made a great base for my favorite Avocado Oil Caesar and Ranch Dressings, and it’s also just super tasty on sandwiches, burgers (especially when made with our grassfed & finished beef) or crackers and cheese.

Make sure your eggs are at room temperature. If you are using fresh eggs that haven’t been washed, you can actually leave them at room temperature for up to 2 weeks! Looking for local eggs? You can purchase our eggs online or stop by the farm and find them in the fridge!

Enjoy this recipe and let me know if you try it!

Homemade Avocado Oil Mayo

Avocado Oil Mayo

Print Recipe
I frequently double this recipe to make a little over a quart which I use a portion of to make my favorite Avocado Oil Caesar Dressing.
Course Condiment
Prep Time 5 minutes
Servings 8

Equipment

  • Food Processor

Ingredients

  • 3 egg yolks at room temp, preferably from pasture raised hens
  • Ā½ tsp fine ground unrefined salt, up to 1 tsp Celtic Sea Salt, Himalayan Pink Salt, Redmond brand Real Salt, etc
  • 2 tbsp lemon juice freshly squeezed, or a real food lemon juice, like Lakewood brand Organic Pure Lemon Juice
  • 1 tbsp water room temp
  • 1 to 1 Ā½ cups Avocado Oil

Instructions

  • Add the egg yolks to the food processor. Then add the salt, lemon juice, and water. It's important that all the ingredients, but the eggs in particular, are at room temperature.
  • Put the lid on your food processor, then pulse several times to combine. I usually check it, lift the blade out and scrape the yolk that usually gets stuck under there to make sure everything gets combined evenly.
  • Turn the processor on, and slowly add the avocado oil. I usually fill the middle of my Cuisinart 14 cup food processor's small feed tube once, let it drip into and combine with the egg yolks completely before adding more. Add oil into the mixture slowly, up to 1.5 cups until all the oil is combined to your preferred consistency. Usually around halfway through or near the end when I begin to hear a "slapping sound" I stop the processor, take the lid off and scrape the bottom to make sure there's not egg yolk still sitting at the bottom.
  • Once the mayo is at your preferred consistency, use a spatula to put in a glass mason jar for storage in the refrigerator.

Taco Egg Casserole: Paleo, Grain Free, Gluten Free

  • before and after adding eggs

Over the weekend, I decided I needed to find every recipe I could that used as many eggs as possible. Since we raise pastured egg layers we are in a constant state of more than enough extra eggs!

Because I had made a recipe previously I really liked that used sweet potato as the “crust”, I knew I wanted to use that as the base for the recipe, but I also wanted to find some way to use the green peppers I got at our local Friendly City Food Co-Op’s $.99/lb table as well as some of our grassfed and finished beef from the farm.

So, I combined two recipes to make this Mexican-Style Taco Egg Casserole! It’s Paleo, Grain Free, and Gluten Free and is also a great way to use up leftovers if you have them.

I suggest doubling the ingredients and baking two: one to eat during the week, and one to freeze!

Spicy Beef & Mushroom Enchiladas

Print Recipe
An easy enchilada recipe you can make your own
Course Main Course
Cuisine Mexican
Keyword Freezer Friendly, Leftovers, Meal Prep, Quick
Prep Time 15 minutes
Cook Time 30 minutes
Total Time 45 minutes
Servings 10 people

Equipment

  • 9 x 13-inch baking dish
  • Oven
  • Skillet
  • Bowl For soaking mushrooms (optional)
  • Kettle/Pot For boiling water to prep mushrooms (optional)

Ingredients

  • 1 tbsp olive oil
  • 1 md/lg white onion diced
  • 4 cloves garlic minced
  • 1 15 oz jar Red Enchilada Sauce or homemade
  • 1 pound grassfed ground beef
  • 4-6 cups chopped mushrooms fresh or rehydrated
  • Ā½ cup diced cayenne or jalapenos fresh or rehydrated
  • 1 tsp ground cumin
  • 8-10 md/lg flour tortillas or grain/gluten free
  • 3 cups cheese Mexican blend or other (I used Havarti sliced cheese that I cut into shreds)
  • fine sea salt & freshly ground pepper

Instructions

  • Prep mushrooms/cayenne if using dehydrated and make your enchilada sauce if choosing to make your own. This looks like a great recipe from Gimme Some Oven.
  • Heat your skillet over medium-high heat and add oil. SautĆ© onion and garlic until fragrant, about 3-4 mins stirring occasionally. Add ground beef and cumin and sautĆ© until browned, breaking apart while cooking about 5-7 mins. You can also add in your jalapeƱos here if using and sautĆ© along with the beef.
  • Combine mushroom/cayenne mixture to beef filling and sautĆ© a min or two longer. Season with salt and pepper to taste.
  • Preheat oven to 350ā„‰. While oven is preheating, begin preparing the baking dish by spreading about Ā½ cup of the enchilada sauce across the bottom. Begin assembling the enchiladas by adding about 2 tbsp sauce in the middle of the tortilla, followed by the filling, and about Ā¼-ā…“ cup cheese. Roll up the tortilla and place in the dish starting from one side, and repeat the process until the dish is full. Pour remaining sauce over the top of the enchiladas and sprinkle with remaining cheese.
  • Bake enchiladas uncovered for 20-30 mins, until cooked through and cheese is melted and tortillas have a slight crisp on the outside.
  • Serve and enjoy with toppings of choice!

Notes

This recipe should also freeze really well (if you make extras, if not I dare you to not eat it all within a day or two).Ā  Just prep everything as you usually would and freeze instead of cooking them.Ā  The instructions for cooking are basically the same as they would be while making them, 350 F for about 30 mins until warm all the way through.